I recently bought a chocofi and it took me days to figure out how to compile and flash my keymaps to it.
Introduction
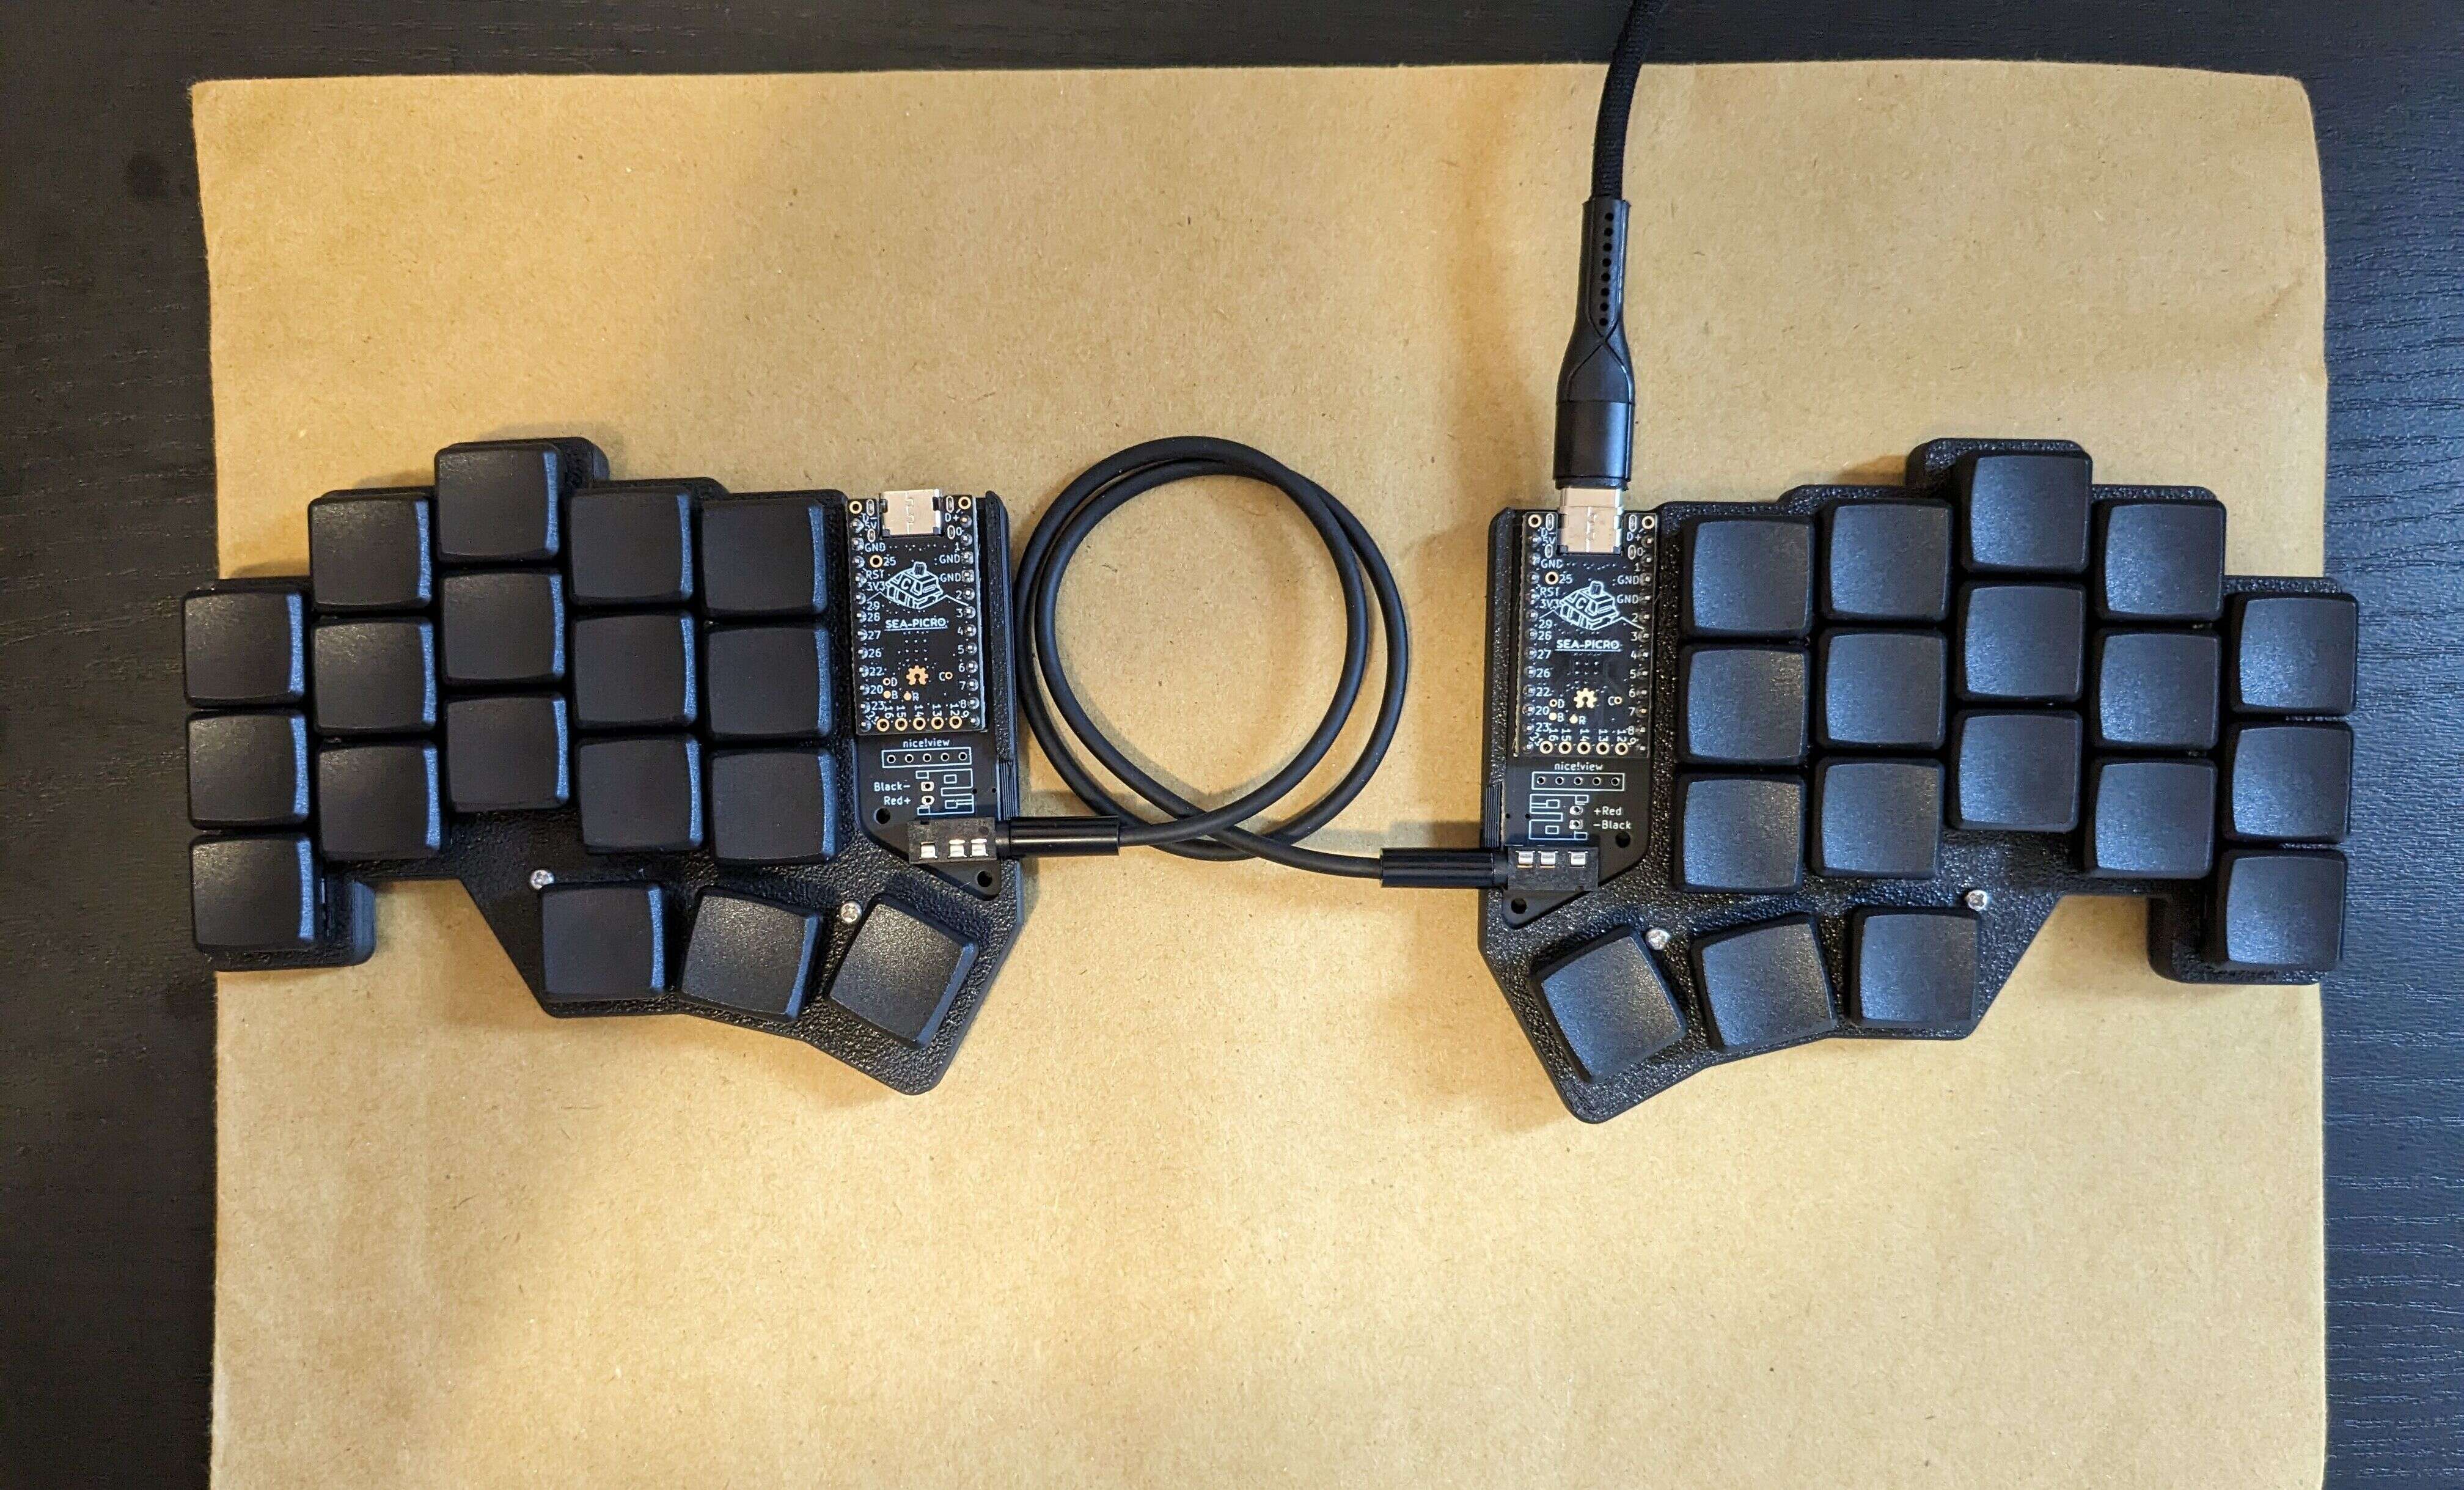
chocofi: low profile 36 keys split keyboard
Controller: Sea Picro (USB-C, RP2040, 16MB, Black - no display)
This Flashing Controllers is a very good introduction.
With our controller being Sea Picro, we can’t just use qmk commands such as qmk compile -kb chocofi -km default, because it compiles to a hex file.
Preparation
In the terminal, type lsusb and if you have the following output:
Bus 003 Device 012: ID 4653:0001 foostan Corne
It means your chocofi also comes with a Corne configuration. After consulting with the vendor, it turned out that I need to use the Corne keyboard layout. I have forked qmk_firmware and modified the Corne layout for chocofi. I have also removed the 3x6 layout and other fluff. Free feel to use it to get started.
1. Compiling
After cloning my fork, in the qmk_firmware directory, open qmk_firmware/keyboards/crkbd/keymaps/default/config.h:
#pragma once

/* Select hand configuration */
// #define MASTER_LEFT
#define MASTER_RIGHT
It means we’re flashing the right half first. After that, comment out MASTER_RIGHT and uncomment MASTER_LEFT to flash the left half.
Run make crkbd:default:uf2 CONVERT_TO=rp2040_ce:
QMK Firmware 0.22.2
Making crkbd/rev1 with keymap default and target uf2

...omitted...
Assembling: lib/pico-sdk/src/rp2_common/pico_divider/divider.S                                      [OK]
Assembling: lib/pico-sdk/src/rp2_common/pico_int64_ops/pico_int64_ops_aeabi.S                       [OK]
Linking: .build/crkbd_rev1_default_rp2040_ce.elf                                                    [WARNINGS]
 |
 | /usr/lib/gcc/arm-none-eabi/13.2.0/../../../../arm-none-eabi/bin/ld: warning: .build/crkbd_rev1_default_rp2040_ce.elf has a LOAD segment with RWX permissions
 |
Creating UF2 file for deployment: .build/crkbd_rev1_default_rp2040_ce.uf2                           [OK]
If you see the last line, it means the UF2 is compiled and ready to be flashed to the chocofi. The UF2 file is located in qmk_firmware/.build/crkbd_rev1_default_rp2040_ce.uf2.
2. Flashing
I. Entering Bootloader
Press the physical button on the side just below the TRRS jack (I use a toothpick):

Pressing any key should have no effect now. It means we’re in the Bootloader mode.
To confirm, run sudo fdisk -l:
Disk /dev/sda: 128 MiB, 134217728 bytes, 262144 sectors
Disk model: RP2
Units: sectors of 1 * 512 = 512 bytes
Sector size (logical/physical): 512 bytes / 512 bytes
I/O size (minimum/optimal): 512 bytes / 512 bytes
Disklabel type: dos
Disk identifier: 0x00000000

Device     Boot Start    End Sectors  Size Id Type
/dev/sda1           1 262143  262143  128M  e W95 FAT16 (LBA)
II. Mounting RP2 controller
To mount the RP2 controller (note: modify the name, location and device location):
sudo mkdir -p /run/media/username/RPI-RP2/
sudo mount /dev/sda1 /run/media/username/RPI-RP2/
Our RPI-RP2 should be mounted now. Go to /run/media/username/RPI-RP2/ and if you open the INDEX.HTML, you should see the following content:
UF2 Bootloader v2.0
Model: Raspberry Pi RP2
Board-ID: RPI-RP2
III. Flashing UF2 to RPI-RP2
sudo cp qmk_firmware/.build/crkbd_rev1_default_rp2040_ce.uf2 /run/media/username/RPI-RP2
If there’s no obvious error from the terminal, it should be successful.
Run sudo fdisk -l again and if you see /dev/sda1 is gone, it’s normal. Now uncomment #define MASTER_LEFT (see ## 1. Compiling) above to flash the left side.
Conclusion
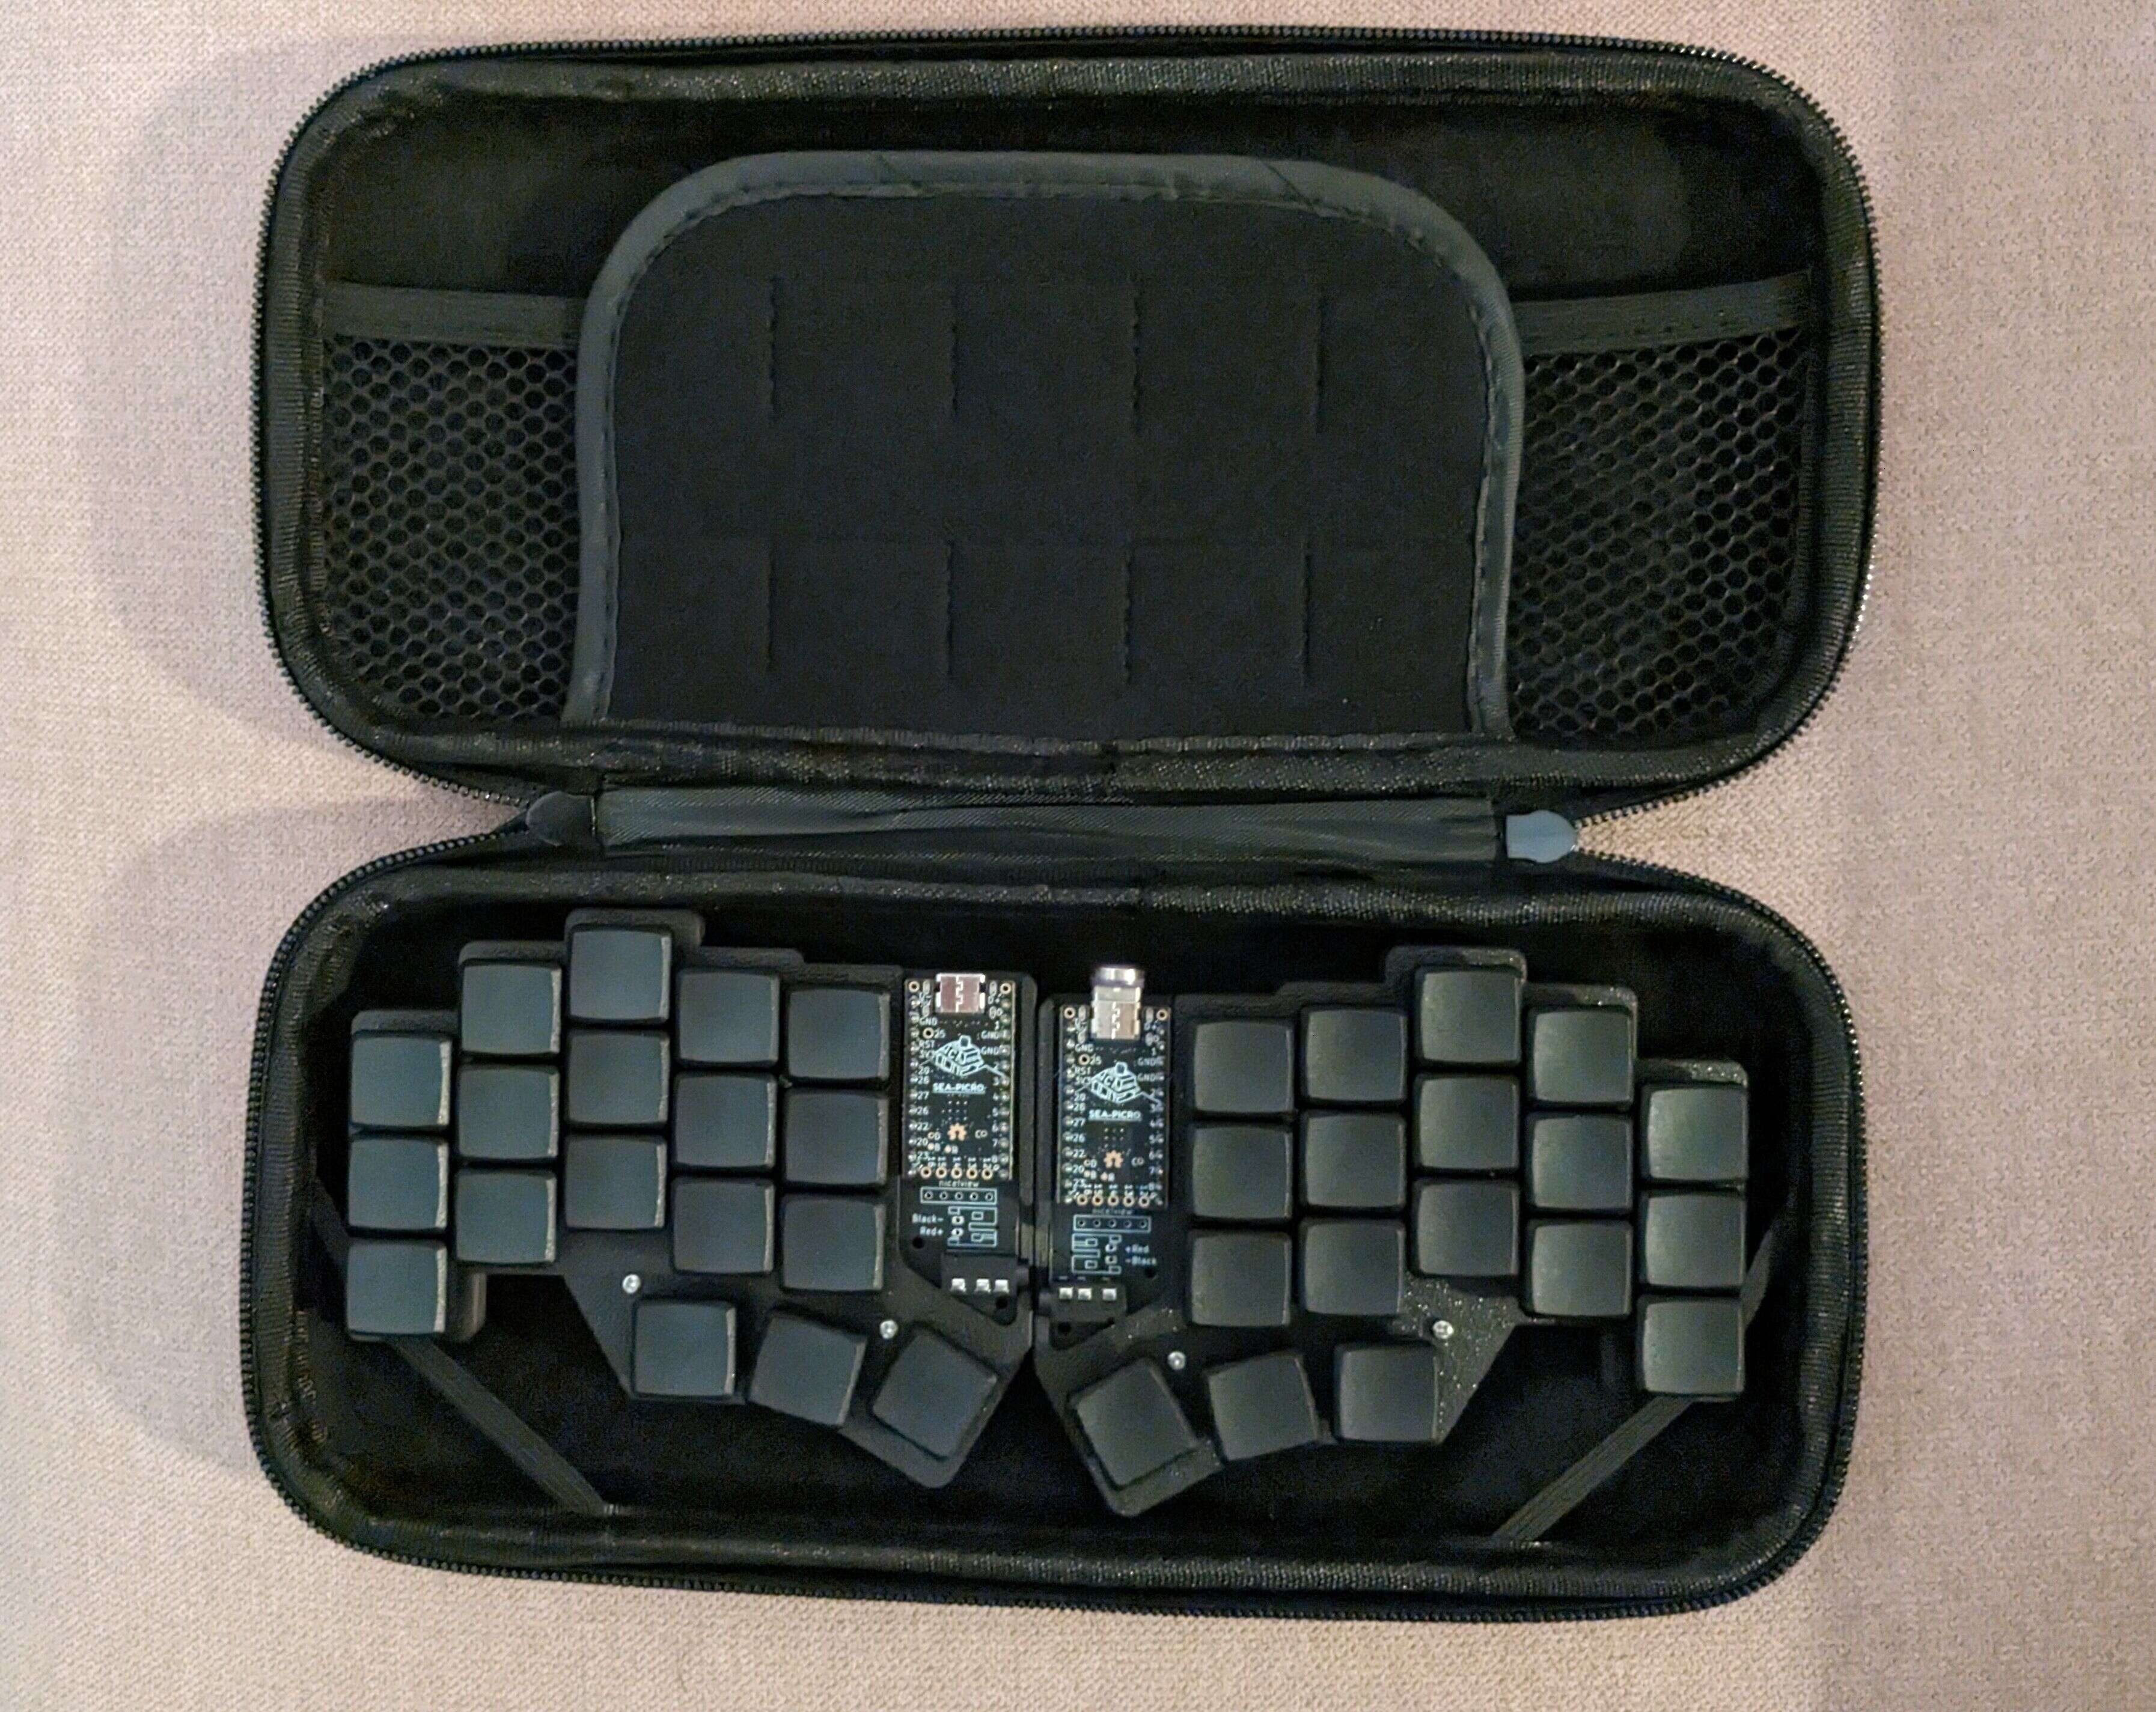
It fits perfectly in a Nintendo Switch case:
Enjoy your chocofi. Cheers!