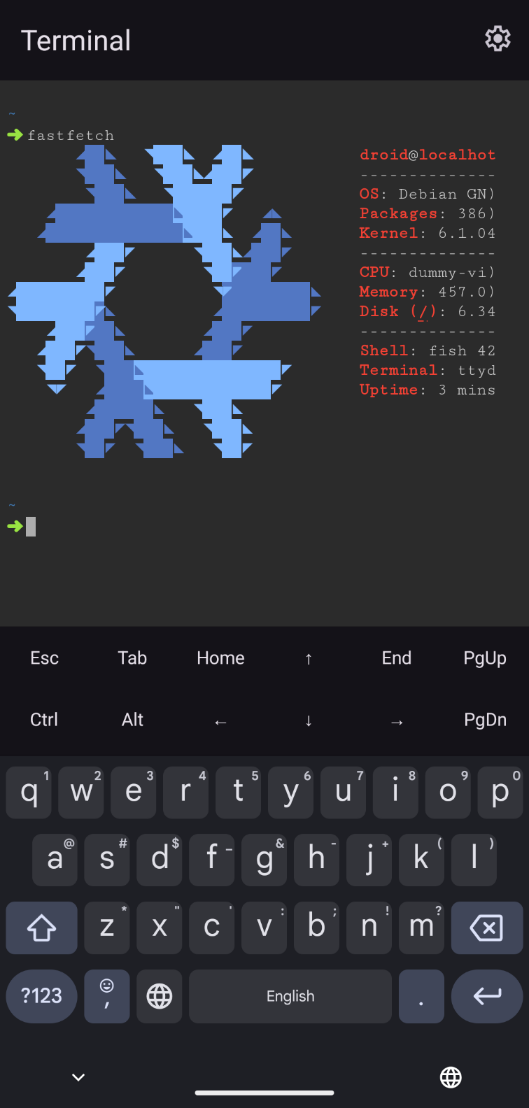
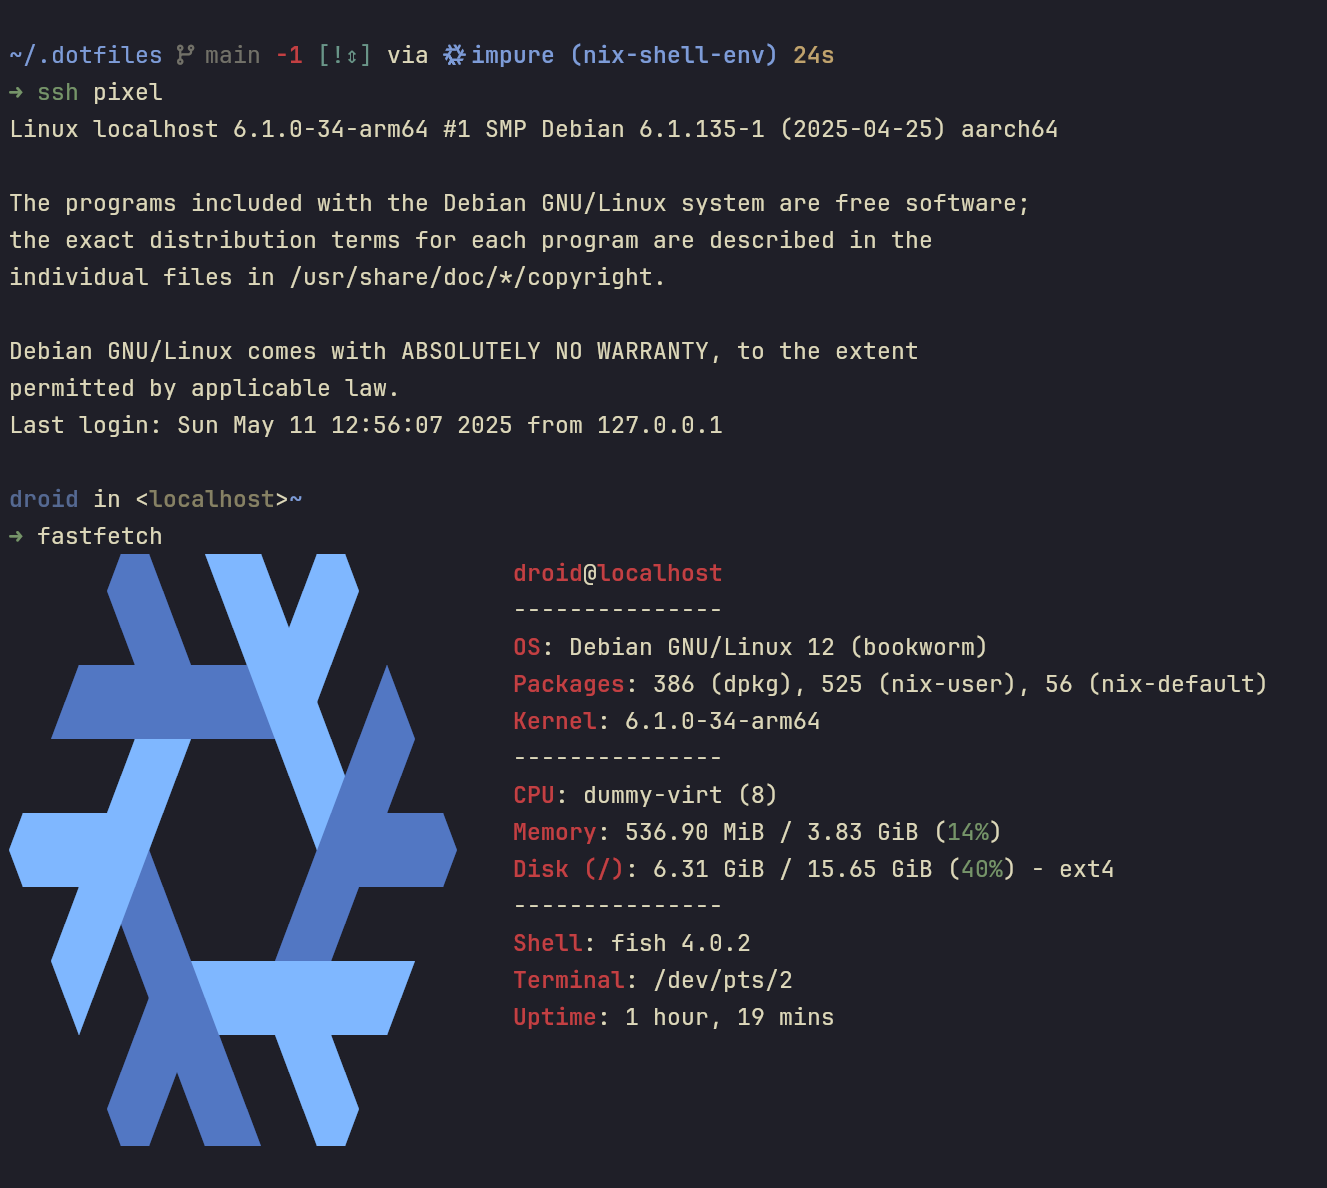
Introduction
I use a Pixel 6A and I was surprised that I could run a Linux VM on it. Of course, I tried to use Nix on it. I found nixos-avf but it required Android 16+. I did not want to join the beta program so no NixOS for now.
Why?
Because we can. Also, I like to manage my phone from my laptop through sshfs.
What You Should Know
- The Terminal App broke at least 10 times when I set this up (disk non-recoverable). It’s highly experiemental and expect it to break and need to set up from scratch again (hence Nix and home-manager are very helpful)
- Resize disk space to the maximum of 16GB or else packages won’t build (disk space full). But this is not the case anymore on Android 16+
- Only the
Downloaddir is accessible for now - The username is always
droid
Setup Guide
1. SSH through Tailscale
I followed this gist. We need to use Tailscale because port forwarding does not work with the phone’s public address (Current Android 15 Linux VM limitation).
The expected outcome is that you can SSH into your phone through Tailscale:
ssh [email protected] -p 8022
2. Set up SSH Public-Key only authentication
I. Generate and copy your public key to the phone’s ~/.ssh/authorized_keys:
mkdir -p ~/.ssh/
cd .ssh
touch authorized_keys
chmod 600 ./authorized_keys
vim ./authorized_keys
II. Paste your public key to authorized_keys
III. Allow public-key only authentication:
Run sudo vim /etc/ssh/sshd_config and configure below:
PubkeyAuthentication yes
PasswordAuthentication no
Then sudo systemctl restart ssh.
3. Install Essential Packages
For easier set up until we have home-manager set up:
sudo apt install -y vim git
4. Install Nix with Determinate Systems’s nix-installer
curl --proto '=https' --tlsv1.2 -sSf -L https://install.determinate.systems/nix | sh -s -- install --determinate
I have the following for easier initial setup:
cd ~
vim .profile
source /nix/var/nix/profiles/default/etc/profile.d/nix-daemon.sh
sudo reboot
5. Switch to systemd-resolved’s stub resolver
This is to resolve both Tailnet records and regular resolution:
sudo systemctl enable systemd-resolved
sudo systemctl start systemd-resolved
sudo ln -sf /run/systemd/resolve/stub-resolv.conf /etc/resolv.conf
At this stage, nix flake init should work.
2. Using flake for Home Manager
mkdir .dotfiles
nix flake init
My directory structure:
.
├── .envrc
├── .gitignore
├── flake.nix
├── home.nix
└── user
    ├── default.nix
    ├── atuin
    │   └── default.nix
    ├── eza
    │   └── default.nix
    ├── fastfetch
    │   ├── default.nix
    ├── fish
    │   └── default.nix
    ├── starship
    │   ├── default.nix
    ├── tmux
    │   └── default.nix
    ├── vim
    │   └── default.nix
    └── zoxide
        └── default.nix
flake.nix:
{
  description = "Home-Manager for droid";

  inputs = {
    nixpkgs.url = "github:NixOS/nixpkgs/nixos-unstable";
    home-manager-unstable.url = "github:nix-community/home-manager/master";
    home-manager-unstable.inputs.nixpkgs.follows = "nixpkgs";
  };

  outputs = inputs@{ self, ... }:
    let
      systemSettings = {
        system = "aarch64-linux";
        username = "droid";
      };

      pkgs = import inputs.nixpkgs {
        system = systemSettings.system;
      };

      home-manager = inputs.home-manager-unstable;

    in {
      homeConfigurations = {
        user = home-manager.lib.homeManagerConfiguration {
          inherit pkgs;
          extraSpecialArgs = { inherit systemSettings; };
          modules = [ ./home.nix ];
        };
      };
    };
}
home.nix:
{ systemSettings, ... }:

{
  imports = [ ./user ];

  home = {
    username = systemSettings.username;
    homeDirectory = "/home/" + systemSettings.username;
    stateVersion = "24.11";
    sessionVariables = {
      EDITOR = "vim";
      VISUAL = "vim";
    };
  };

  programs.home-manager.enable = true;
}
Build and Activate the config
cd .dotfiles
nix run .#homeConfigurations.user.activationPackage
home-manager switch --flake .#user
Tips
1. Turn off battery optimizer for Terminal
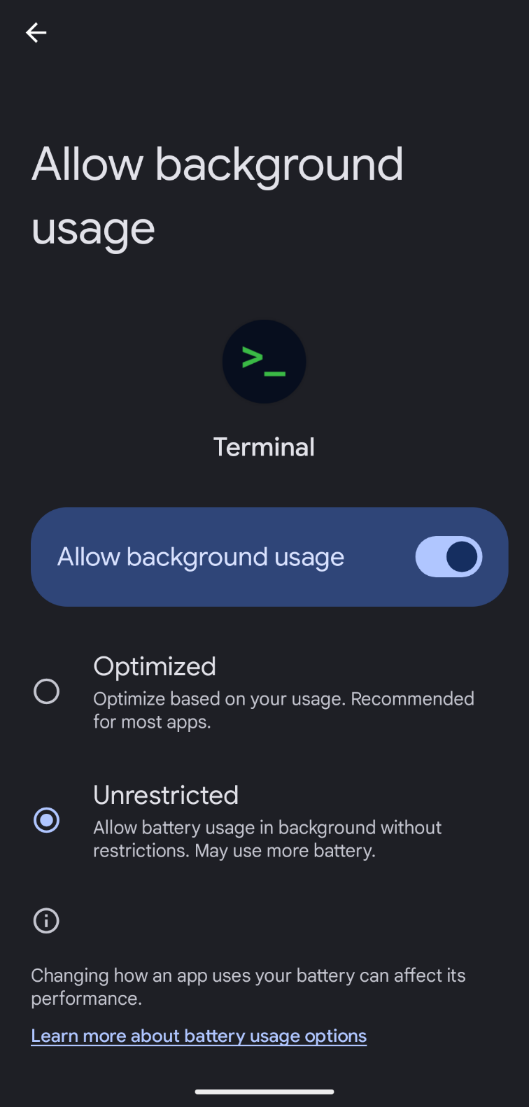
2. Editing on laptop by mounting the filesystem from phone to host
Nobody likes to type on the phone. I like to set up my Nix config on the laptop:
# mount
sshfs pixel: ~/Machines/pixel6a -o IdentityFile=~/.ssh/pixel6a -o reconnect

# unmount
fusermount -u ~/Machines/pixel6a
3. If you don’t like Tailscale, consider Cloudflare Tunnel
I. Follow the official setup guide
II. sudo apt-get update && sudo apt-get install cloudflared
III. Modify your SSH config to only allow localhost connection
sudo vim /etc/ssh/ssh_config
ListenAddress 127.0.0.1
sudo systemctl restart ssh
IV. I have the following in my host’s ~/.ssh/config such that ssh pixel just works:
Host pixel
  HostName   hello.world.com
  User       droid
  Port       8022
  ProxyCommand cloudflared access ssh --hostname %h
  IdentityFile ~/.ssh/pixel6a
Conclusion
If you want to use Termux and Cloudflare Tunnel, check out my Using Termux And Cloudflare Tunnel to SSH into My Android Phone. Have fun!